This knowledgebase article describes the steps to create a new Event
- Once you have logged in to your website administration page, hover over on the Events menu item click on the Add Event button. Alternatively, Select the “All Events” link and then click on the Add New button at the top of the screen.
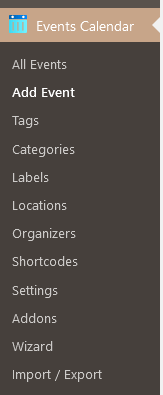 Figure 1 – Add Event
- On the new event page, there are several tabs which allow you to enter the details of your event.
- The “Date and Time” tab allows you to enter the Start and End dates, together with the Start and End times. You can also choose to mark the event as an all-day event, and hide the event times if you want.
 Figure 2 – Enter Event Date and Time
- The “Event Repeating” tab allows you to set the event to be displayed for a recurring schedule which can continue indefinitely or end after a certain date or number of recurrences.
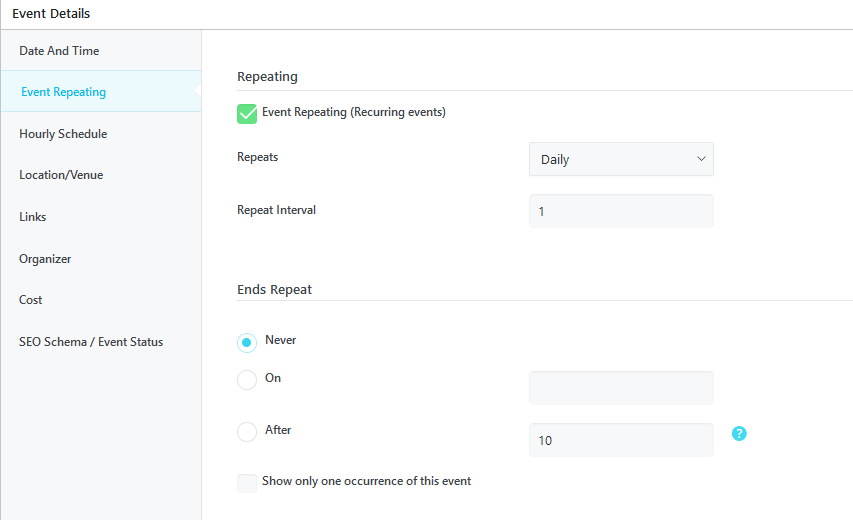 Figure 3 – Add Repeating Events
- The “Hourly Schedule” tab allows you to set hourly schedules for the event (for example to add various workshops throughout the day) as well as add multiple days to the event.
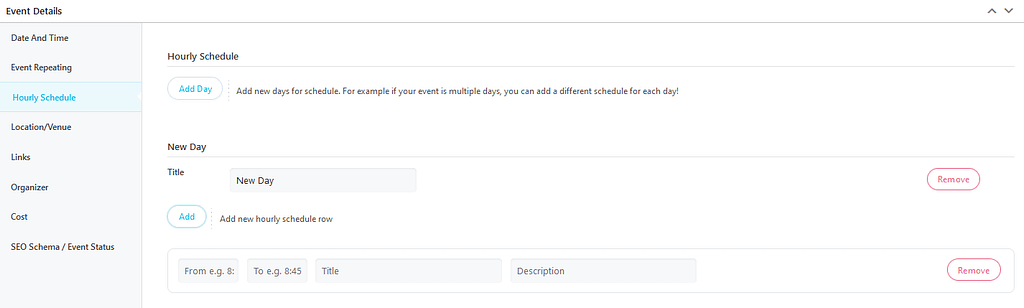 Figure 4 – Enter Hourly Schedule
- The “Location/Venue” tab allows you to add details of the location.
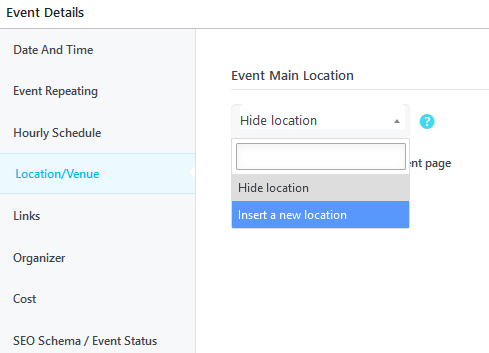 Figure 5 – Add Event Location
- The “Links” tab is used to set a link for external details or for the event itself (for example, if it is hosted on MeetMe).
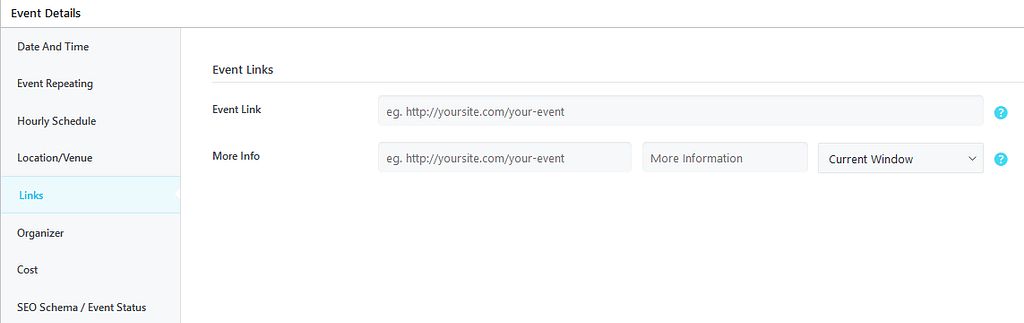 Figure 6 – Enter Event Links
- The “Organizer” tab allows you to add the organisation running the event.
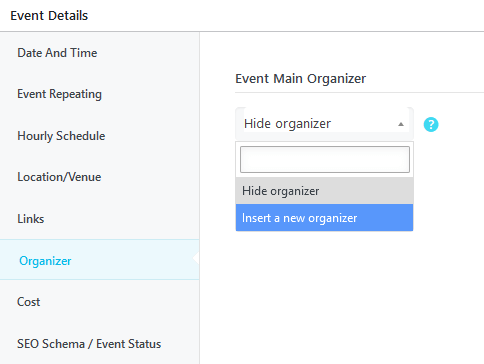 Figure 7 – Add Event Organiser
- The “Cost” tab lets you identify any cost to attend the event.
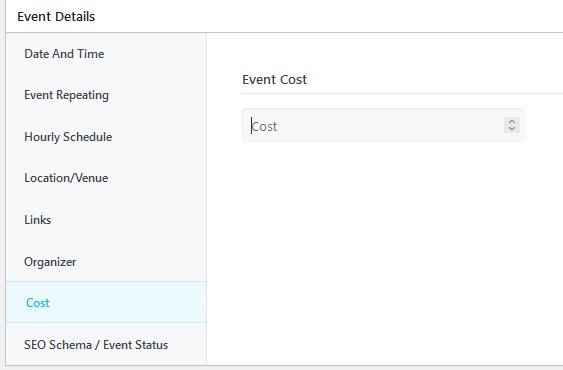 Figure 8 – Add Event Cost
- Finally, the “SEO Schema” tab allows you to set the status of the event.
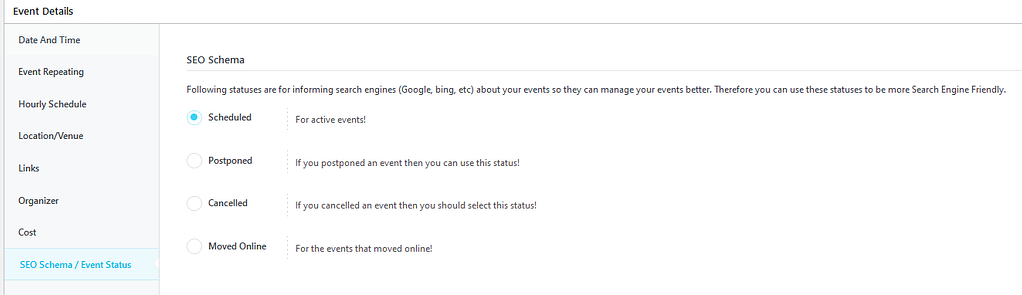 Figure 9 – Add Event Status
Article Last Updated: 2nd February 2022

Share this post