This knowledgebase article describes the steps to create a page or post using the Classic editor
- Log in to the administration page for your website at https://www.yourwebsite.com/web/wp-login.php
- Select “All Pages” from the “Pages” option in the left-hand menu, or “All Posts” from the “Posts” option.
 Figure 1 – Creating a new page
- To create a new page or post, click on the Add New button at the top of the screen. A page will display, allowing you to enter content.
- Add the title of your new page or post.
- You can then enter text in the text box as shown below. You can change the style of the text between paragraph or a heading. There are also a number of other options to make your text bold, italic, change the text alignment, add a link and so on.
- To add an image to the post, you can click the Add Media button.
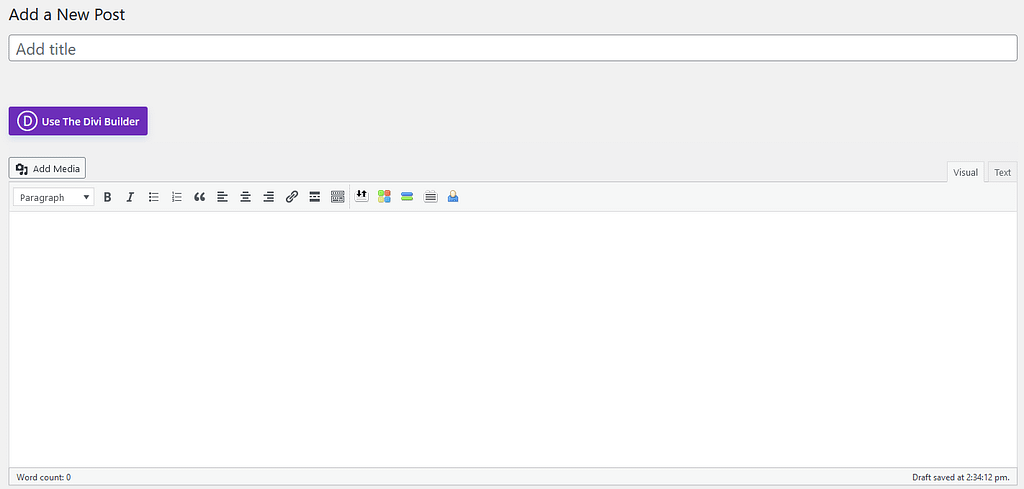 Figure 2 – Adding basic content
Adding an Image to your Page or Post
- To add an image from the Media Library, click the Add Media button.
- . The “Add Media” box will then be displayed, showing existing images in your media library.
- You can then select the image you want to insert into your page or post, select the size to show, and decide what alignment to use.
- If the image you want isn’t in your media library, you can click on the Upload Files tab to browse, or drag and drop, a new image from your computer.
- To insert the image, click the Insert into page/post button at the bottom of the featured image box.
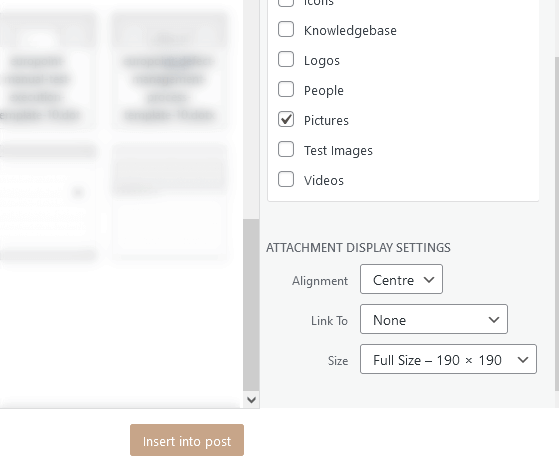
Figure 3 – Inserting an image into your page or post
Adding a Featured Image to your Page or Post
- A featured image appears at the top of the page or post you are creating, and is also used as a thumbnail when the page or post is linked to in another widget.
- To add a featured image from the Media Library, select the link in the “Featured Image” section. The “Featured Image” box will then be displayed, showing existing images in your media library.
- You can then select the image you want to insert into your page or post, select the size to show, and decide what alignment to use.
- If the image you want isn’t in your media library, you can click on the Upload Files tab to browse, or drag and drop, a new image from your computer.
- To insert the image, click the Insert into page/post button at the bottom of the featured image box.
Figure 4 – Inserting a featured image
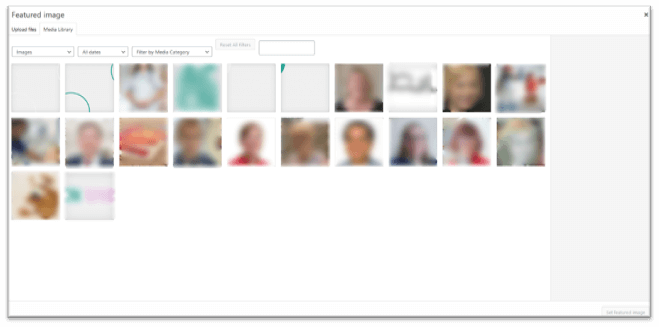
Figure 5 – Adding an existing image
Publishing a Page or Post
- Once you are happy with the page/post, you can click the Preview button to see what it will look like once published, and then the Publish button to make it live on the website.
- If you need to change the Author of the page or post, select the appropriate user in the “Author” section.
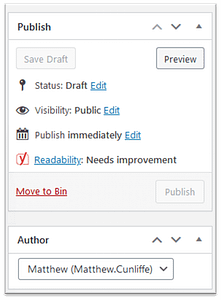
Figure 6 – Publishing a page / post
Article Last Updated: 13th July 2021