This knowledgebase article describes the steps to create a page or post using the Divi Builder
- Log in to the administration page for your website at https://www.yourwebsite.com/web/wp-login.php
- Select “All Pages” from the “Pages” option in the left-hand menu, or “All Posts” from the “Posts” option.
 Figure 1 – Creating a new page
- To create a new page or post, click on the Add New button at the top of the screen. A page will display, allowing you to enter content.
- Add the title of your new page or post.
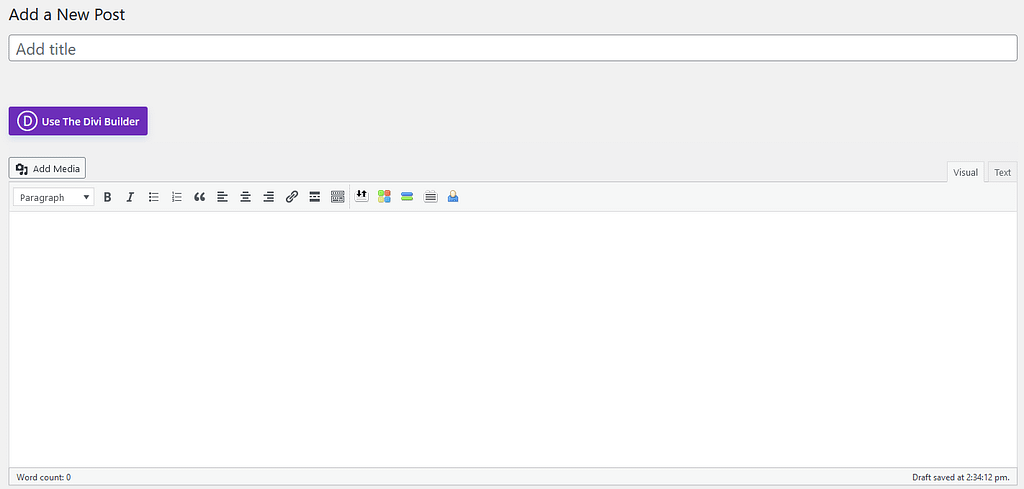 Figure 2 – The initial Page or Post screen
Using the Divi Builder
- To create multiple columns and add more advanced content, click the purple Use the Divi Builder
- You will be presented with three options. Select the “Build from Scratch” option

Figure 3 – Using the Divi Builder
- You can then select a format for the row of information you want to add.
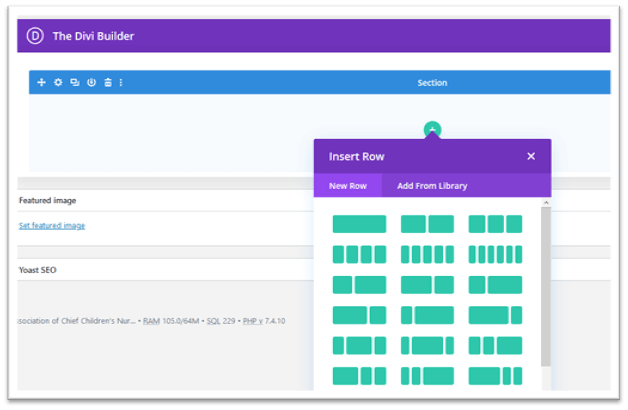
Figure 4 – Inserting a row format
- After you have created your row, you can select a specific module to add to a particular section of your row. The basic option is “Text”, but there are lots of other options you can choose from.
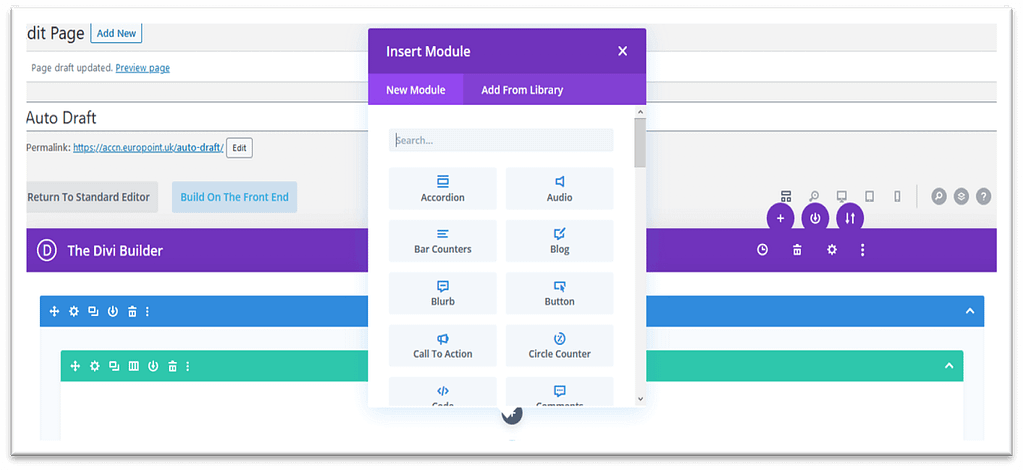
Figure 5 – Inserting a module
- The picture below shows the “Text” module where you can either enter the text directly or use the Visual section to format your text. You can also add backgrounds and images here.
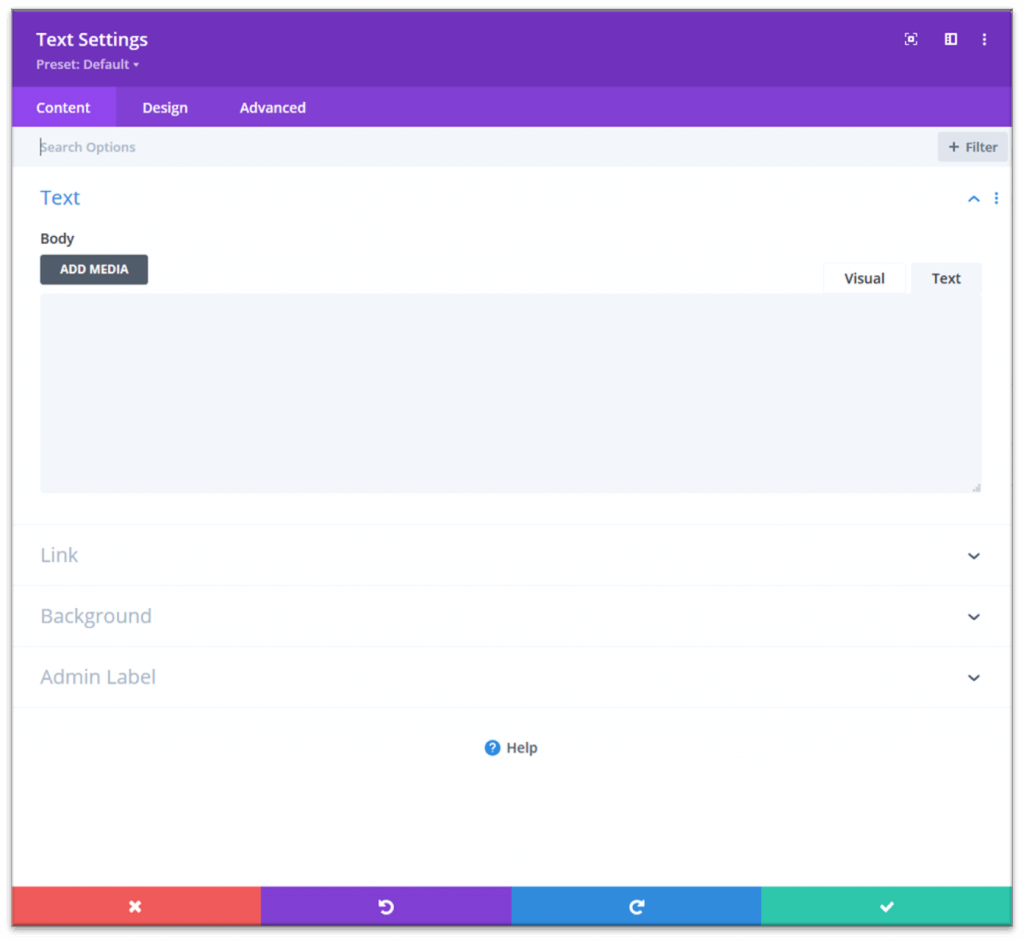
Figure 6 – Inserting text using Divi
Adding an Image to your Page or Post
- To add an image from the Media Library, click the Add Media button.
- . The “Add Media” box will then be displayed, showing existing images in your media library.
- You can then select the image you want to insert into your page or post, select the size to show, and decide what alignment to use.
- If the image you want isn’t in your media library, you can click on the Upload Files tab to browse, or drag and drop, a new image from your computer.
- To insert the image, click the Insert into page/post button at the bottom of the featured image box.
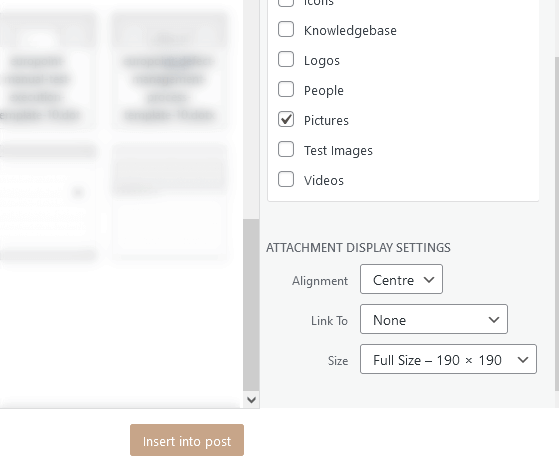
Figure 7 – Inserting an image into your page or post
Adding a Featured Image to your Page or Post
- A featured image appears at the top of the page or post you are creating, and is also used as a thumbnail when the page or post is linked to in another widget.
- To add a featured image from the Media Library, select the link in the “Featured Image” section. The “Featured Image” box will then be displayed, showing existing images in your media library.
- You can then select the image you want to insert into your page or post, select the size to show, and decide what alignment to use.
- If the image you want isn’t in your media library, you can click on the Upload Files tab to browse, or drag and drop, a new image from your computer.
- To insert the image, click the Insert into page/post button at the bottom of the featured image box.
Figure 8 – Inserting a featured image
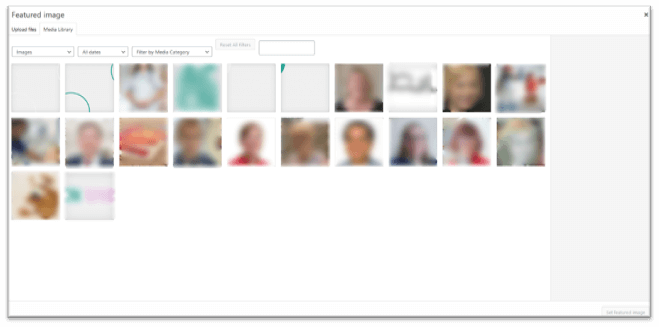
Figure 9 – Adding an existing image
Publishing a Page or Post
- Once you are happy with the page/post, you can click the Preview button to see what it will look like once published, and then the Publish button to make it live on the website.
- If you need to change the Author of the page or post, select the appropriate user in the “Author” section.
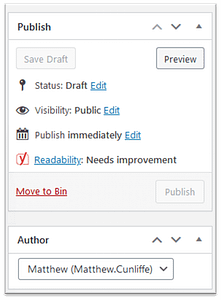
Figure 10 – Publishing a page / post
Article Last Updated: 16th July 2021